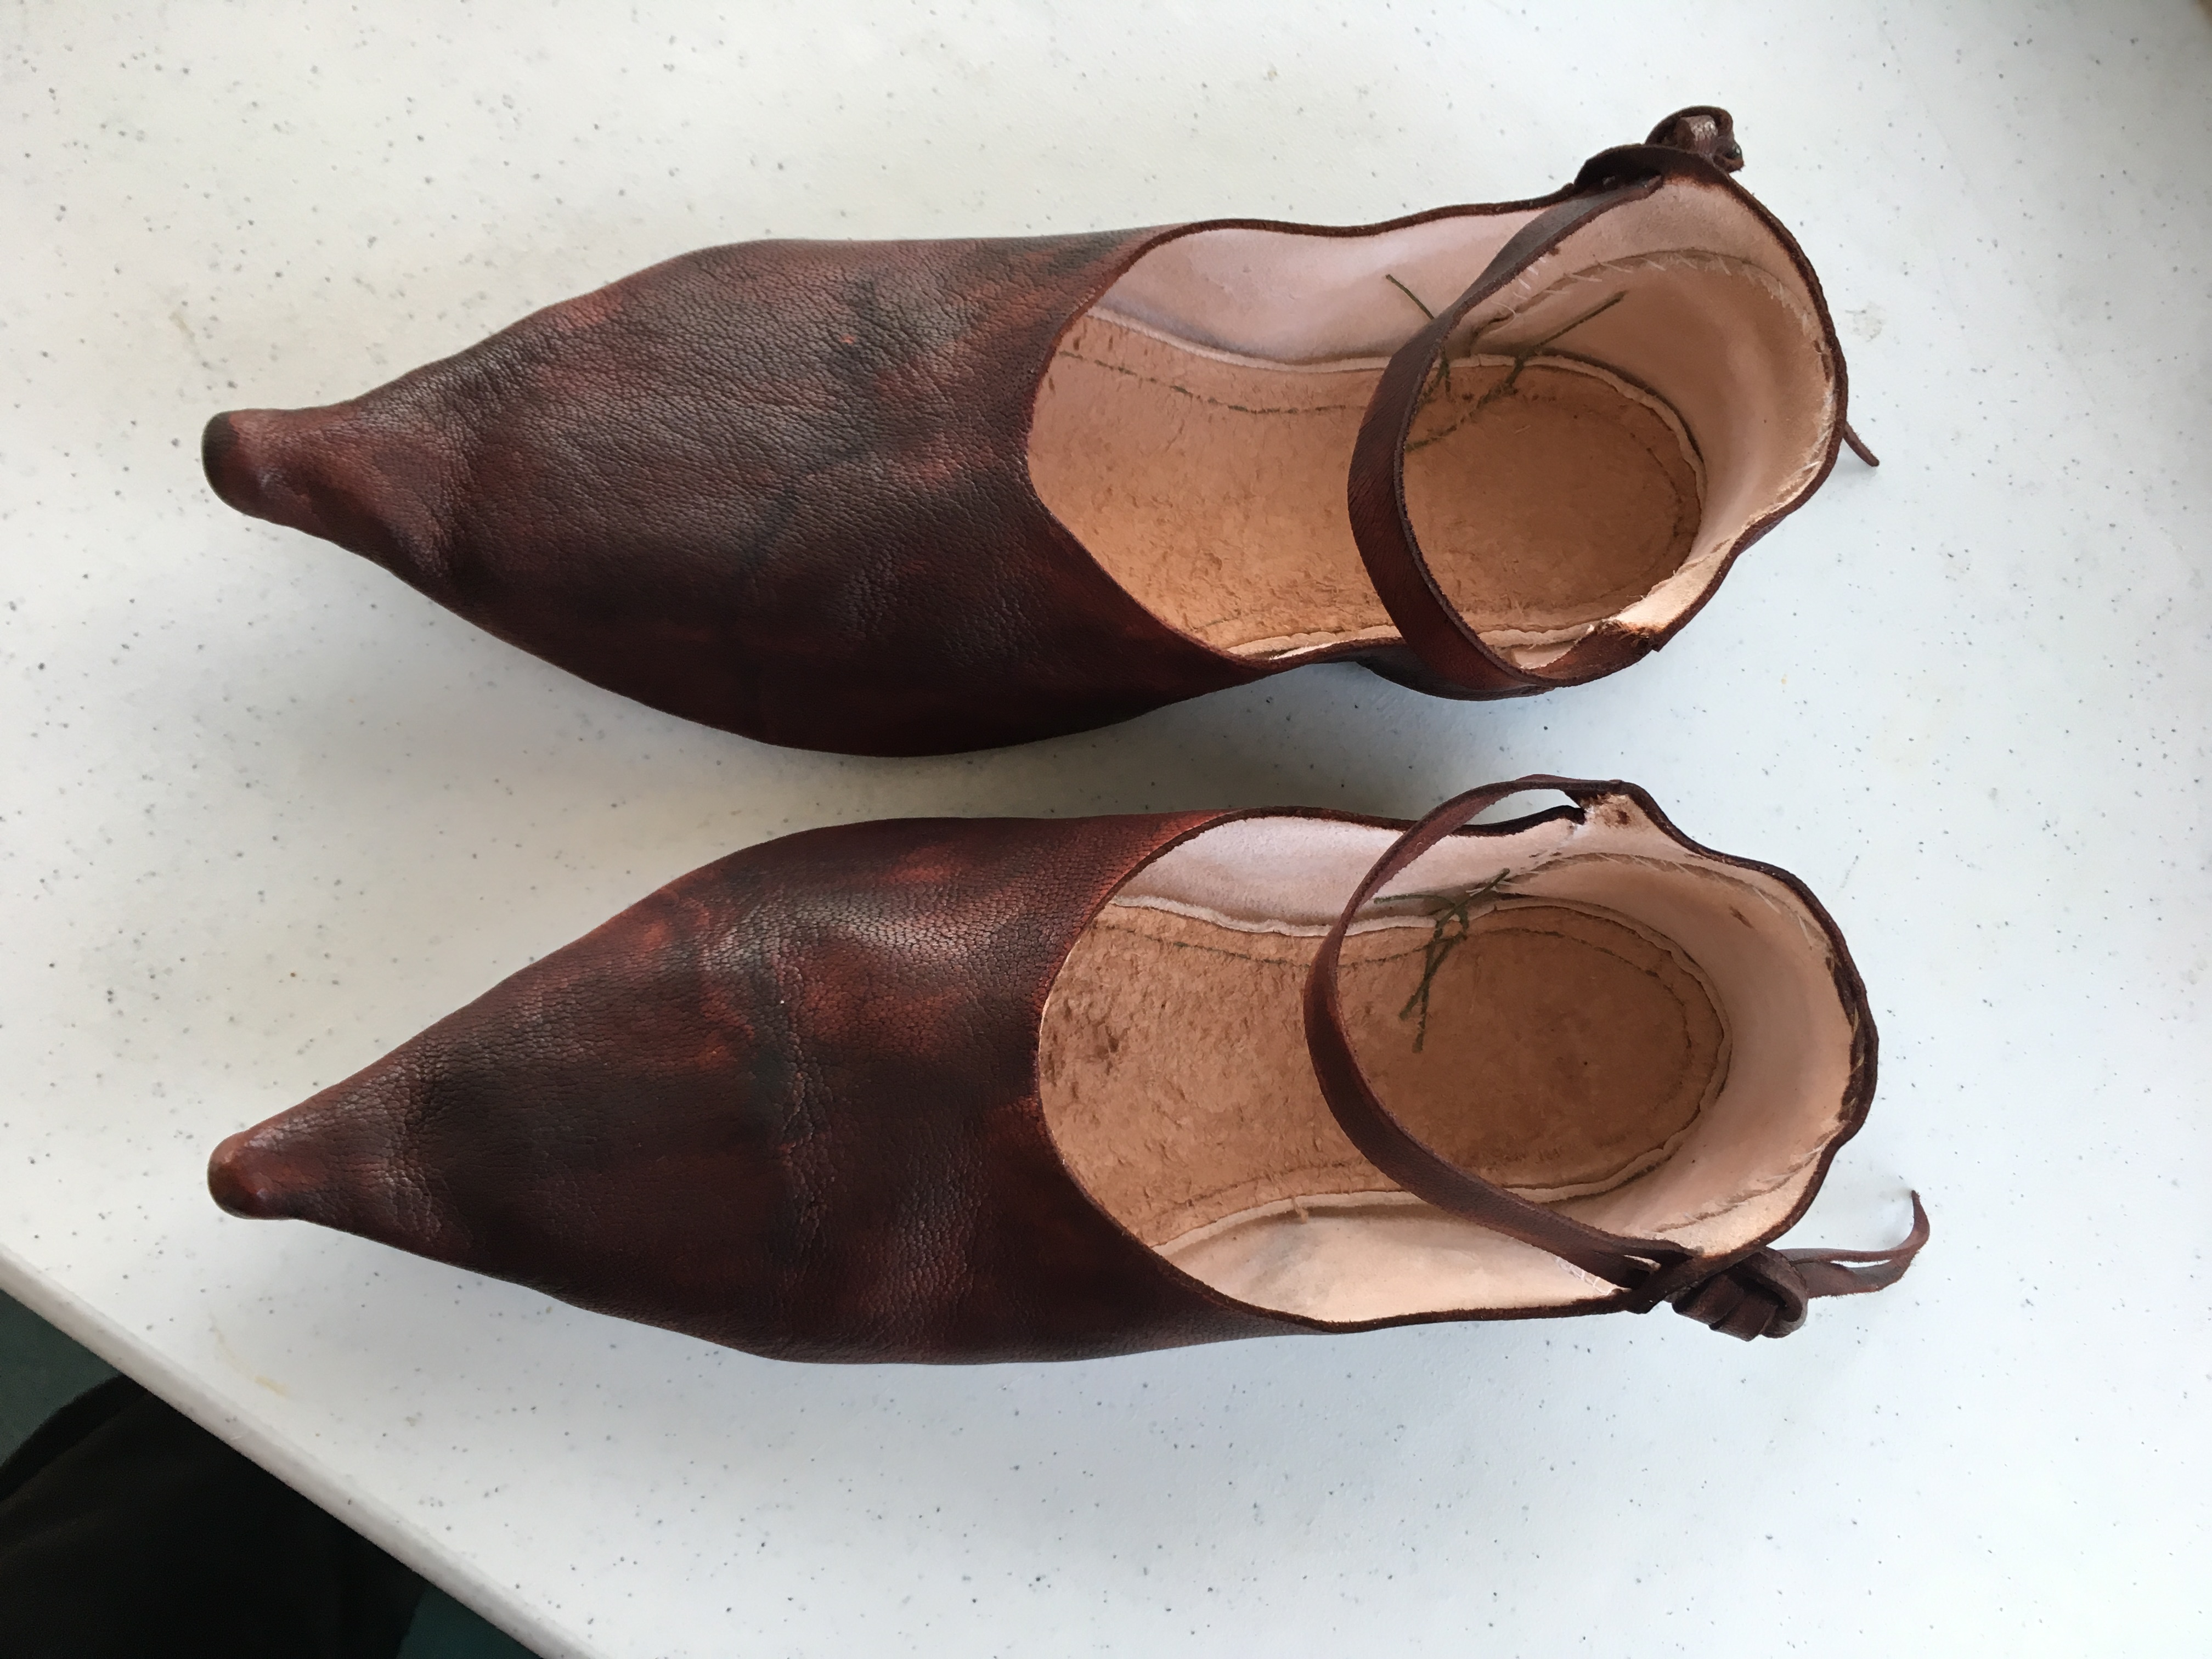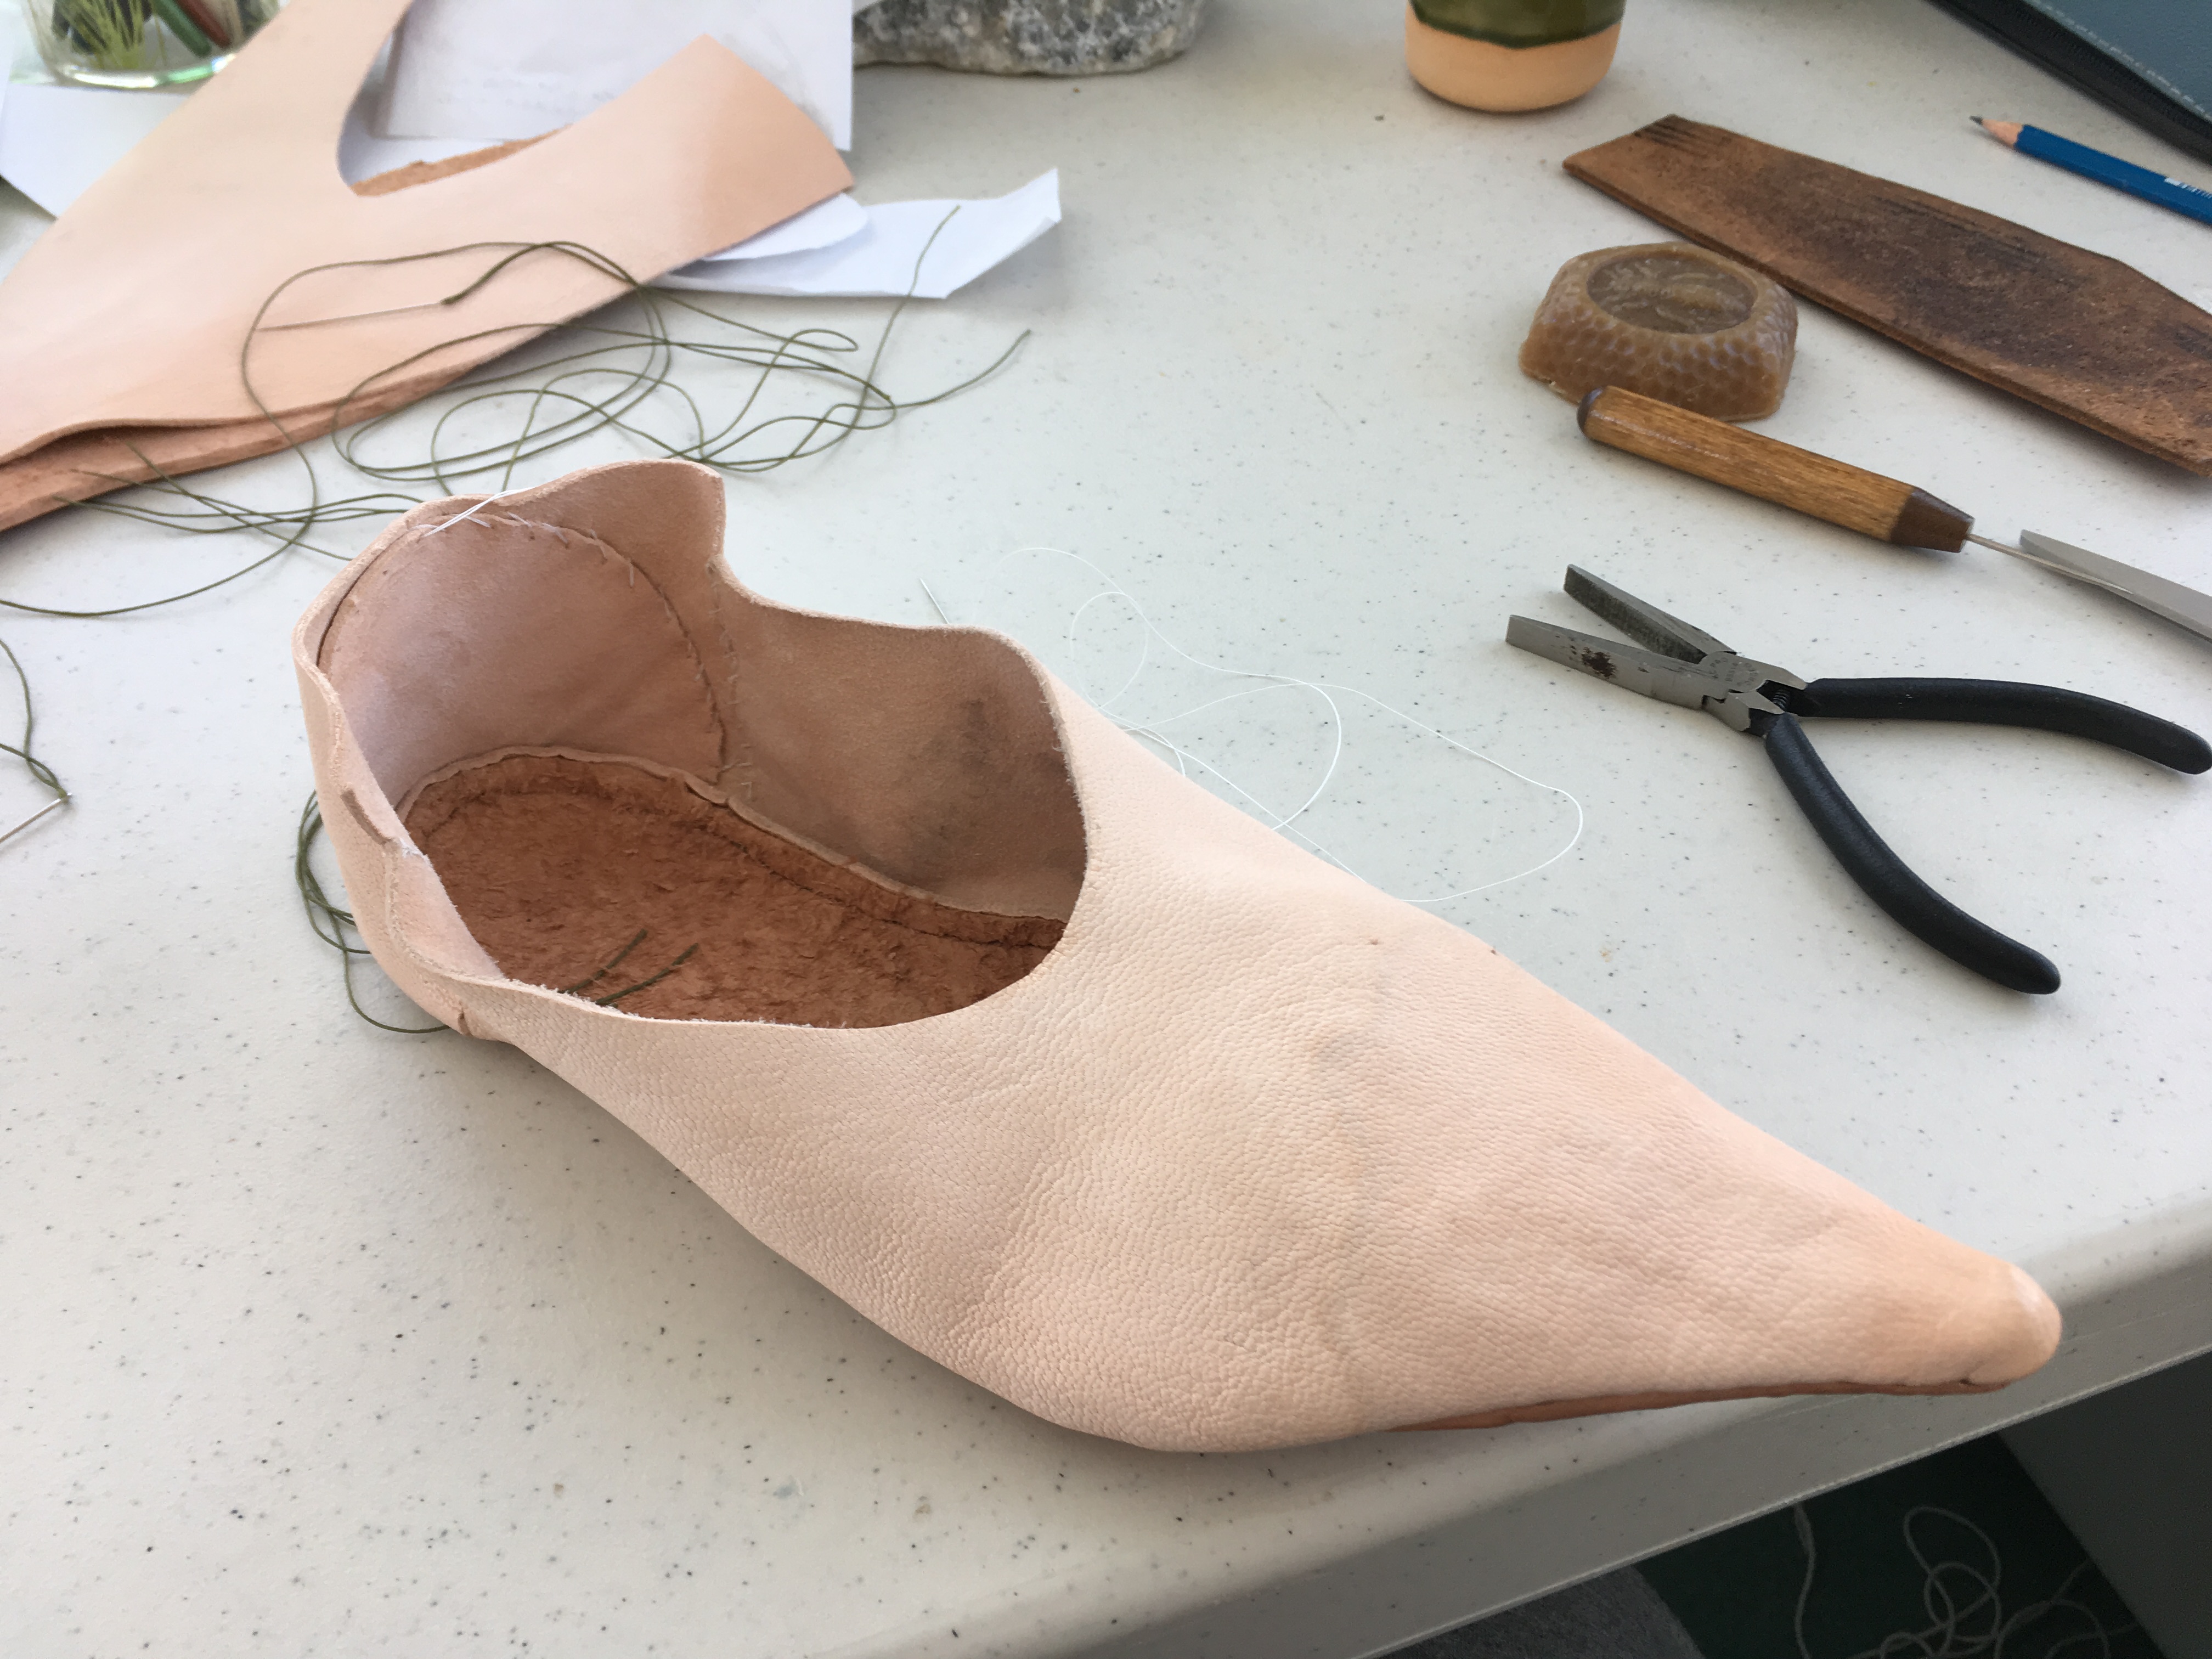


After thinking and researching about shoes for several years, I decided that there were probably many things that I wouldn’t understand until I started working and that it might be best to jump in and give it ago. Based on 14th Century turnshoes from the London finds, these shoes were constructed of thin vegetable tanned goat skin uppers, thick cow hide soles, and waxed carpet warp (cotton). Turnshoes are sewn inside out, with or without the aid of a shoe last (these ones are unlasted), and then turned outside right after soaking the leather to make it more pliable. I was so anxious to turn them that I didn’t get any photographs of that part of the process… maybe with the next pair.
For me, the most difficult part of this project was drafting the pattern. I started by tracing my foot, and then adjusting the design so it fitted more of the look of 13th century shoes like the ones at the Museum of London. These shoes are long and narrow, in fact, I made the pattern more narrow than my foot at the ball of my foot, and very tight at the heel, to make the shape of the sole look more like the shape of the period examples. This felt strange at the time, as did using the same pattern for left and right foot, a custom of the time, but I didn’t want the finished shoes to be too floppy. So I decided to let myself experiment with this first pair, realizing that they may not fit properly and I might have to modify the pattern and try again. Giving myself permission to make this first pair as a practice pair was really liberating. I realized that what had been holding me up starting these shoes in the first place was my fear of wasting materials and time making something that wouldn’t be useable. Deciding that the purpose of these shoes was to learn, and trusting that they would probably fit someone, allowed me the freedom to get over the initial hurdle and start making the shoes that I had wanted for so long.


With my initial tracing of my foot modified to look more like a symmetrical, period sole, I folded another piece of paper in half the long way and keeping the fold centered over my foot, from ankle to toe, I began trimming and pinching the paper until it laid over my foot pretty smoothly. Where the top paper touched the edge of the sole pattern I creased it until the edge of the pattern piece covering the foot began to become apparent. This piece that covers the top of the foot is called the vamp of the shoe. Taking the vamp pattern piece off my foot I folded the paper along the original line and fiddled with the edge until the piece was symmetrical, checking from time to time to make sure that it still covered my foot. Having a friend’s helping hands would have made this fitting process much easier. It was sometimes difficult to hold the paper and mark the pattern line, or hold the vamp pattern to the sole in enough places to make sure it would fit. It is possible to use tape, though, to tack the vamp to the sole along the edge to test the fit of the shoe. I loosely fitted another piece of paper to make the heel. On this piece I marked in pencil where I thought the heel piece should meet the vamp, and then added about 0.5 cm to that edge to make sure I was able to fit the heel more closely as I made the shoe, as I didn’t yet know how sewing the shoe might modify how the pieces fit together. I added a 0.5 cm seam allowance to the edge of the vamp where it would be sewn to the sole to allow room for the seam as well as turning.
Once the pattern pieces felt done, I used them to cut the vamp, heel, heel reinforcement, and lacing strap pieces from a 3 ounce, vegetable tanned goat skin from Brettuns Village. I cut the sole from much thicker vegetable tanned cow hide that a friend had given me.

To attach the upper pieces to the sole of the shoe I used a saddle stitch version of the split hold stitch, with two strands of waxed cotton carpet warp thread. I would like to try using linen thread with a follow up pair of shoes, but I had this carpet thread on hand and was eager to get going. The split hold stitch is lovely. With the pieces inside out, I started sewing at the center of the toe and vamp, first using an awl to make a hole diagonally down through the flesh side of the sole piece, out the lower part of the edge of the sole, and through the vamp, which was perpendicular to the sole, flesh side out.


Making stitches in this way, rather than the stab stitch, makes the finished seam very smooth when the shoe is turned. I find these shoes so much more comfortable than an earlier pair of turnshoes that I made using the stab stitch because I was afraid that the sole leather I was using was much too thin to hold a split hold stitch. The key with the split hold stitch is to start making the hole into the sole quite a ways in from the edge of the sole. I made these stitches a little more than 0.5 cm in from the cut edge of the sole. I used an awl to make the holes through the sole and vamp, drew the first thread through the holes until it was tight, then pulled the second thread (going in the opposite direction) through the same hole (being careful to avoid piercing the first thread with the needle if I could), then pulled both treads quite tight. I found that I didn’t need to add a welt, which made it easier to sew the pieces together, in fact, even trying to add a third layer to reinforce the heel added too much bulk and the reinforcement piece would not lay flat for me.
I stitched from toe to the end of the vamp, then started another pair of threads at the toe and sewed down the other side of the shoe. The heel piece had a little wiggle room because of the added seam allowance, which was really helpful at this point. I butted up one edge of the heel piece to the vamp’s heel edge (without overlapping) and continued sewing using the saddle type split hold stitch to attach the heel to the sole, leaving the seam between the vamp and heel open for now. Once sewing around the heel, I could see how the heel piece wanted to lay and was able to trim the other side of the heel that would meet the other side of the vamp so that they would butt up against each other, again, with no overlap. With the second shoe I attached the heel piece to the vamp piece on one edge before sewing the upper to the sole, to make it a bit easier, but both ways will work.
To stitch up both sides of the vamp and heel I used a variation of a “blind hold stitch” with waxed, heavy duty, cotton sewing thread. The thicker carpet warp was too coarse for the thin goat skin and kept tearing the leather. This stitch is lovely because it lets you attach 2 pieces smoothly, with out overlapping them, and the seam is invisible from the outside of the shoe. I stitched diagonally down through the flesh side of the leather, out the edge, into the edge of the other side, and up diagonally out through the other flesh side.


With the stitching done, it was so exciting to turn the shoe and try it on. The goat skin was so supple, I wasn’t worried about how most of the shoe would turn, but the toe was quite another story. So I soaked the toe portion of the shoe in water for a few minutes before toweling it off and turning the shoe. I still wanted to use a piece of leather to stiffen and reinforce the heel, and decided to tack it in place along it’s top and sides, and leave the edge close to the sole tucked behind the seam of the sole and heel piece. This has held after quite a bit of wear.

After this I attached a strap of goat skin to the top edge of the heel that would wrap around my ankle. The strap was split into two lacing ends. The lacing ends threaded through a pair of holes on the other side of the heel piece, and tied into a loose knot to hold the shoe in place, no buckles required. This simple and effective method of closure can be seen in the image of period shoes from the Museum of London shown above.
I died the shoes using a brown, alcohol based dye, but would love to try a period dye with the next pair. When they were dry I rubbed them with mink oil to shine them up and keep the leather soft. The shoes felt tight at first, and it took some time to get used to the one pattern for both feet, but they have been a joy to wear as they stretch to fit my feet. The split hold stitch hides the seam beautifully, which protects the thread, hopefully making them wear well for a long time.
Other Helpful Sources:
I. Marc Carlson’s book Footwear of the Middle Ages was an invaluable and exhaustive resource: http://www.personal.utulsa.edu/~marc-carlson/shoe/SHOEHOME.HTM
As a visual learner, Laughingcrow’s short, but clear video on Scandinavian Turnshoes really helped me understand aspects of the shoemaking process that I wasn’t able to comprehend when described in written instructions. The video can be found at: https://www.youtube.com/watch?v=w4-nyo5zzks
Or: http://villagevideo.org/turnshoe/
Author: thornandthread
This blog represents a body of work that I have produced while playing with the Society for Creative Anachronism. View all posts by thornandthread